
Long before computers and software like Adobe Photoshop became common tools, photographers were already finding clever ways to alter and manipulate images. Changing photographs isn’t a new idea; it has been happening almost since the invention of photography itself in the 19th century. These early methods didn’t rely on clicks and menus but required hands-on skill, patience, and creative thinking in the camera, darkroom, and studio.
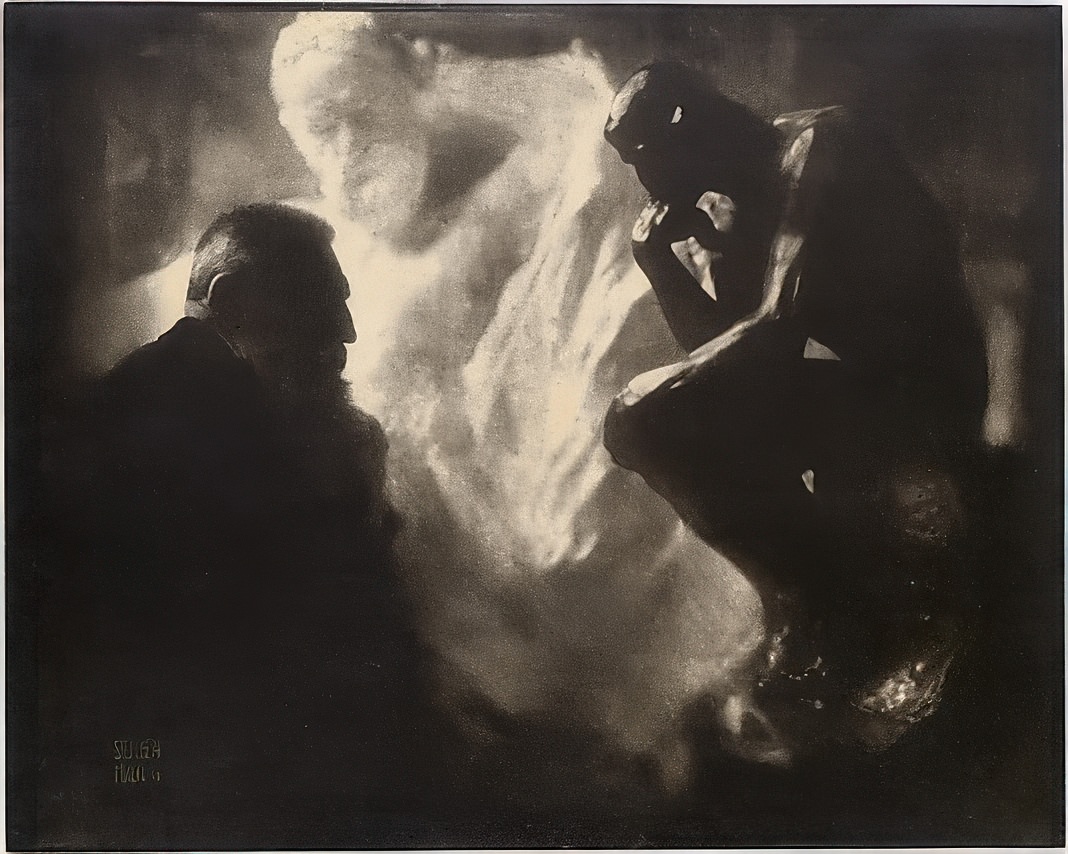
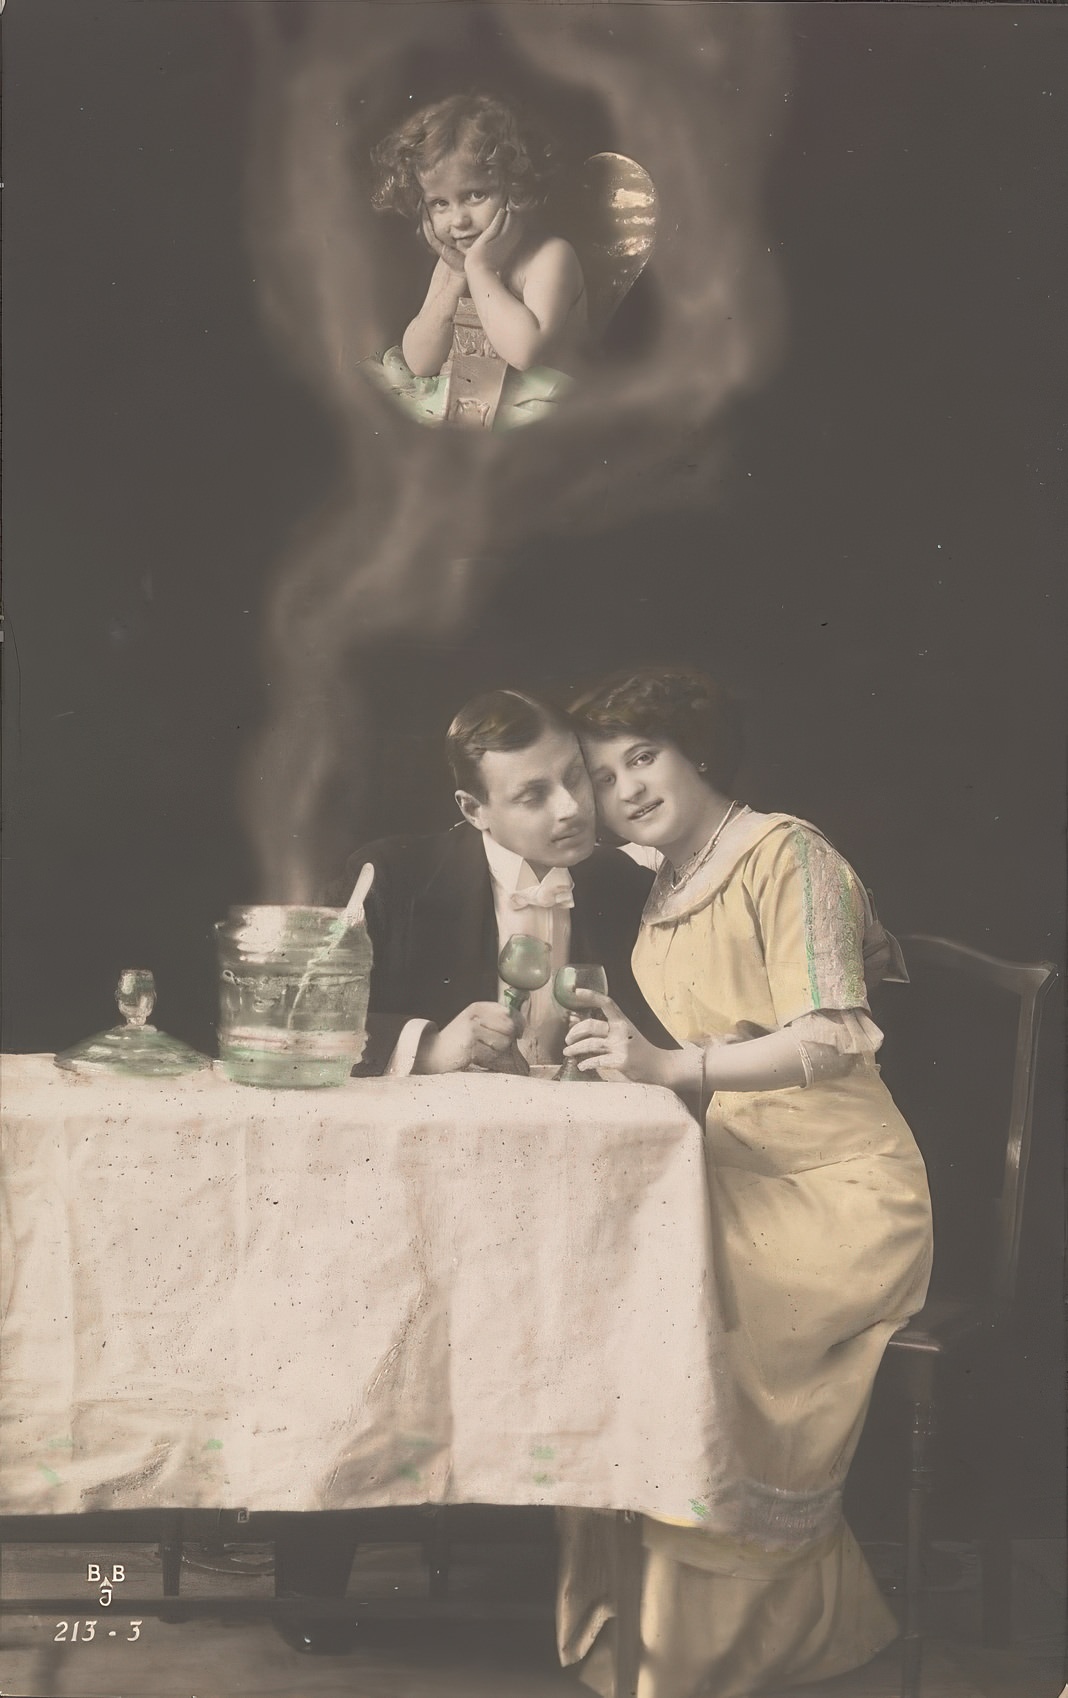
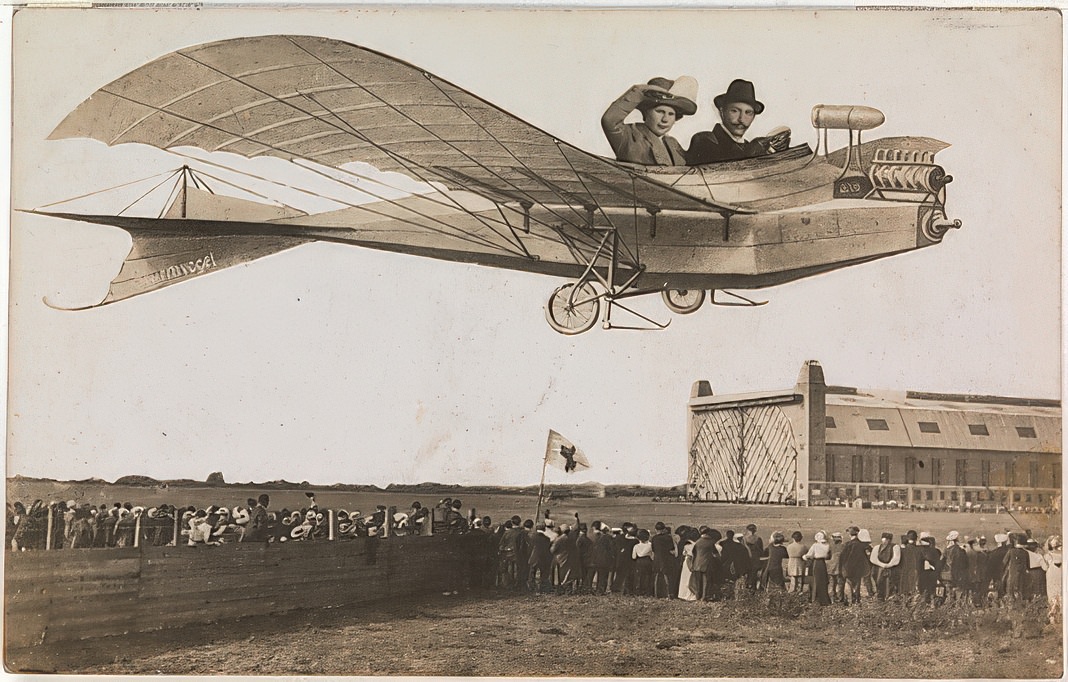
People modified photographs back then for a variety of reasons. Sometimes it was purely for artistic expression, allowing photographers to create fantastical scenes, impossible events, or dream-like atmospheres that couldn’t be captured directly from reality. Humor was another motivation; think of old postcards showing people riding giant insects or vegetables or having impossibly large heads. Portrait retouching was also very common, aiming to make subjects look their best by smoothing skin, removing wrinkles, or fixing perceived flaws. On more serious notes, photographs were sometimes manipulated for political propaganda or even used deceptively, like in the creation of fake “spirit” photographs claiming to show ghosts alongside living people.
Read more
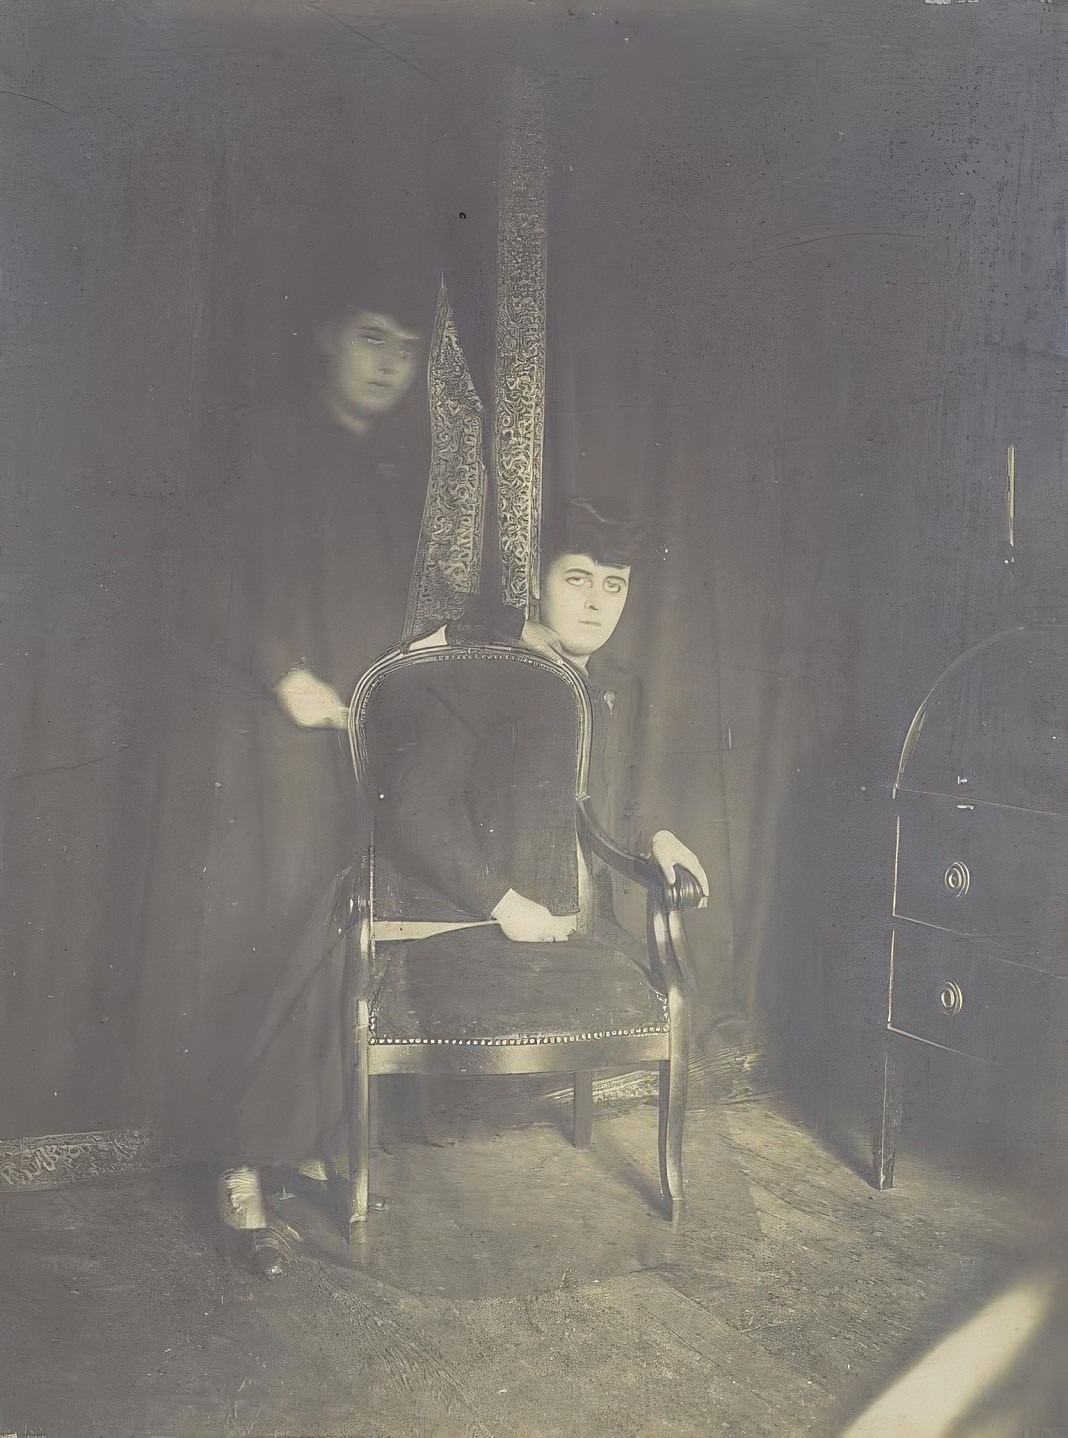
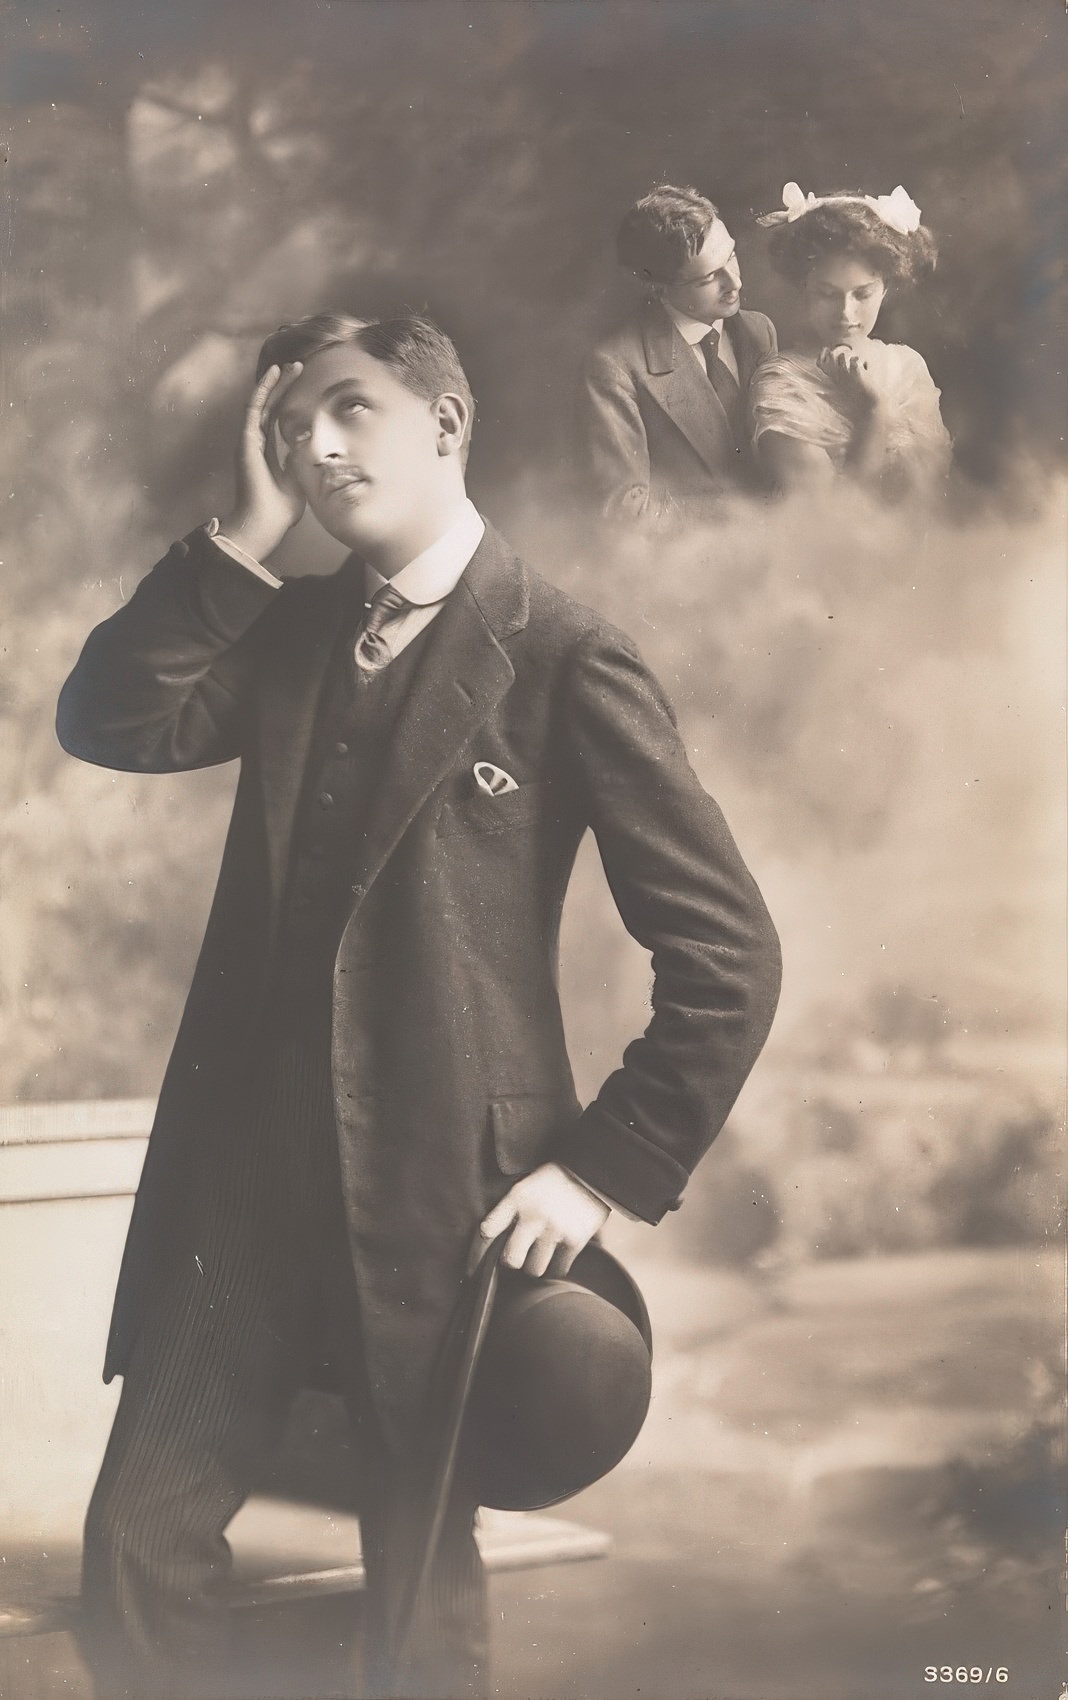
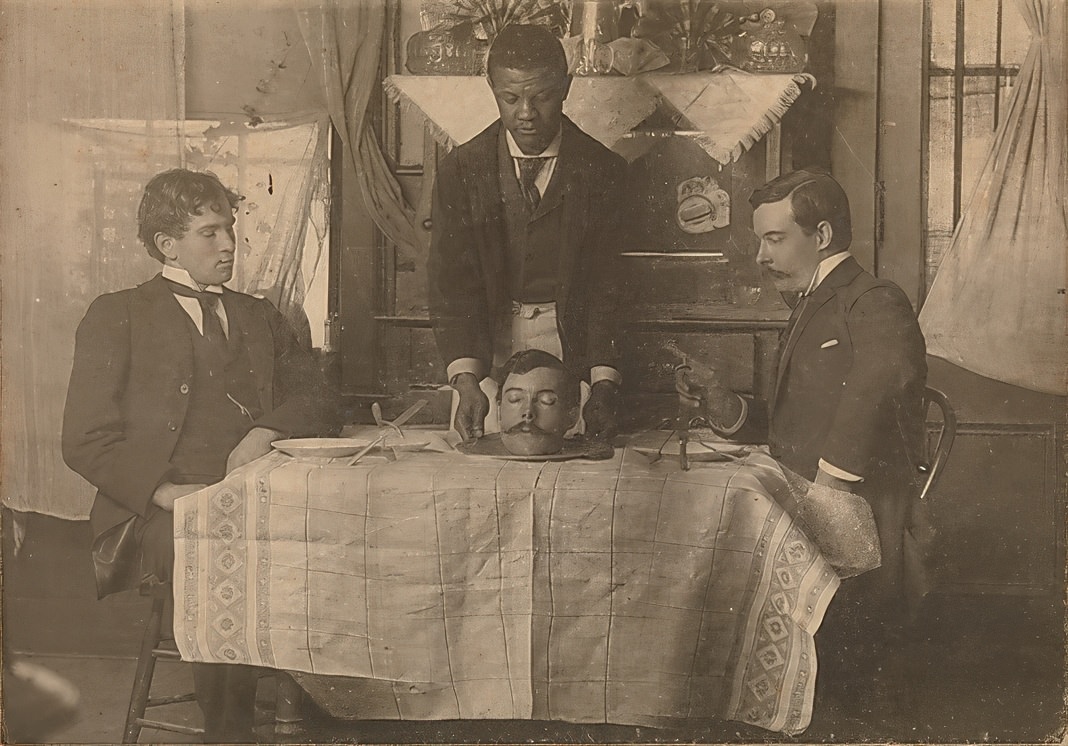
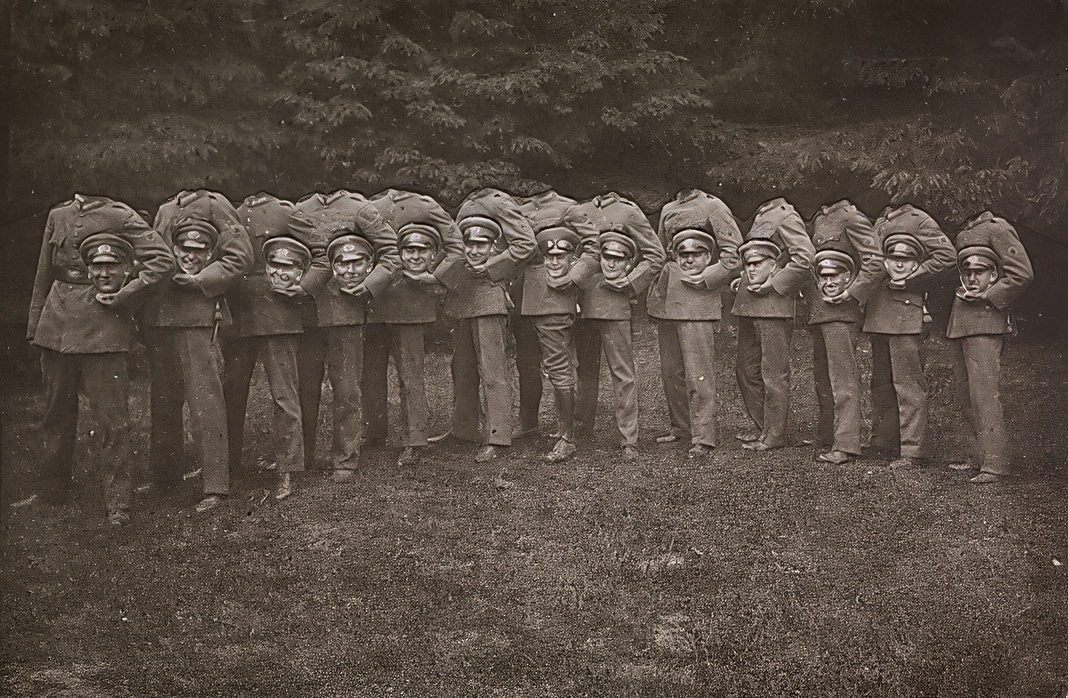
Some photographic tricks were performed right inside the camera while the picture was being taken. A popular technique was double exposure or multiple exposure. This meant exposing the same piece of film or photographic plate more than once to different scenes or elements. Each exposure layered an image onto the previous one. This could be used to create ghostly figures seemingly floating in a room, show the same person appearing multiple times in a single frame, or blend different scenes together. Photographers also became masters of staged illusions. By carefully arranging subjects and props, sometimes using black velvet or cloth to hide parts of a person or object from the camera’s view, they could create surprising effects like seemingly headless portraits or people appearing to float in mid-air.
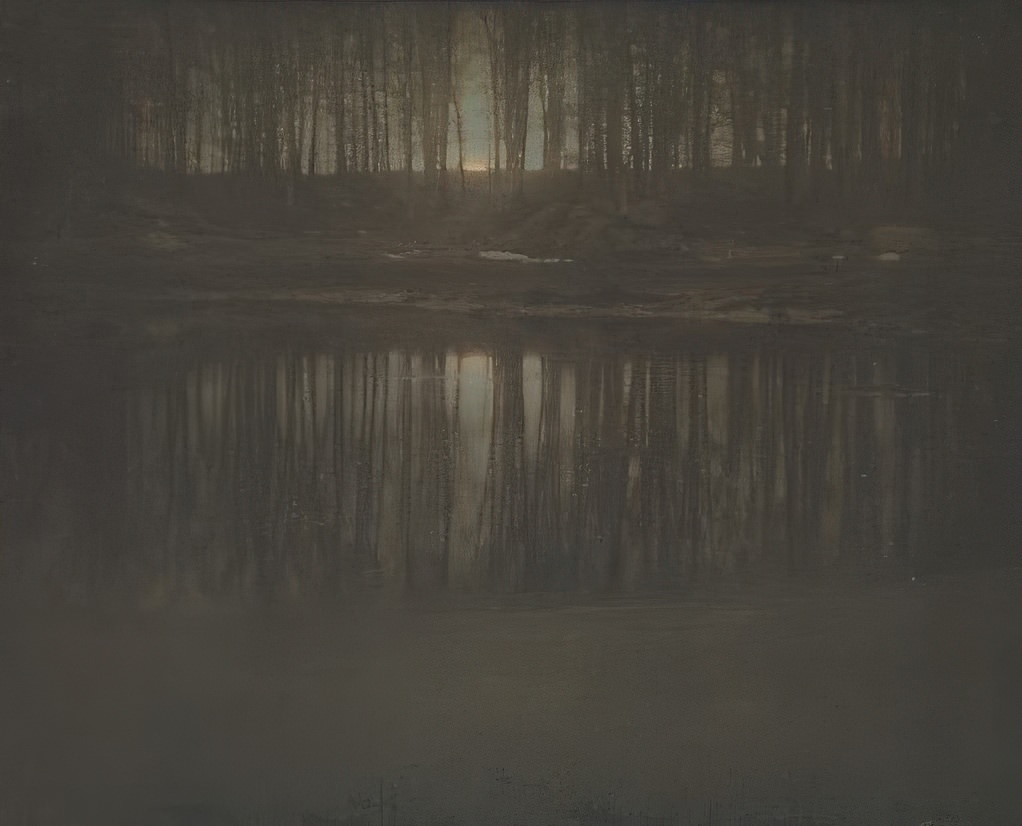
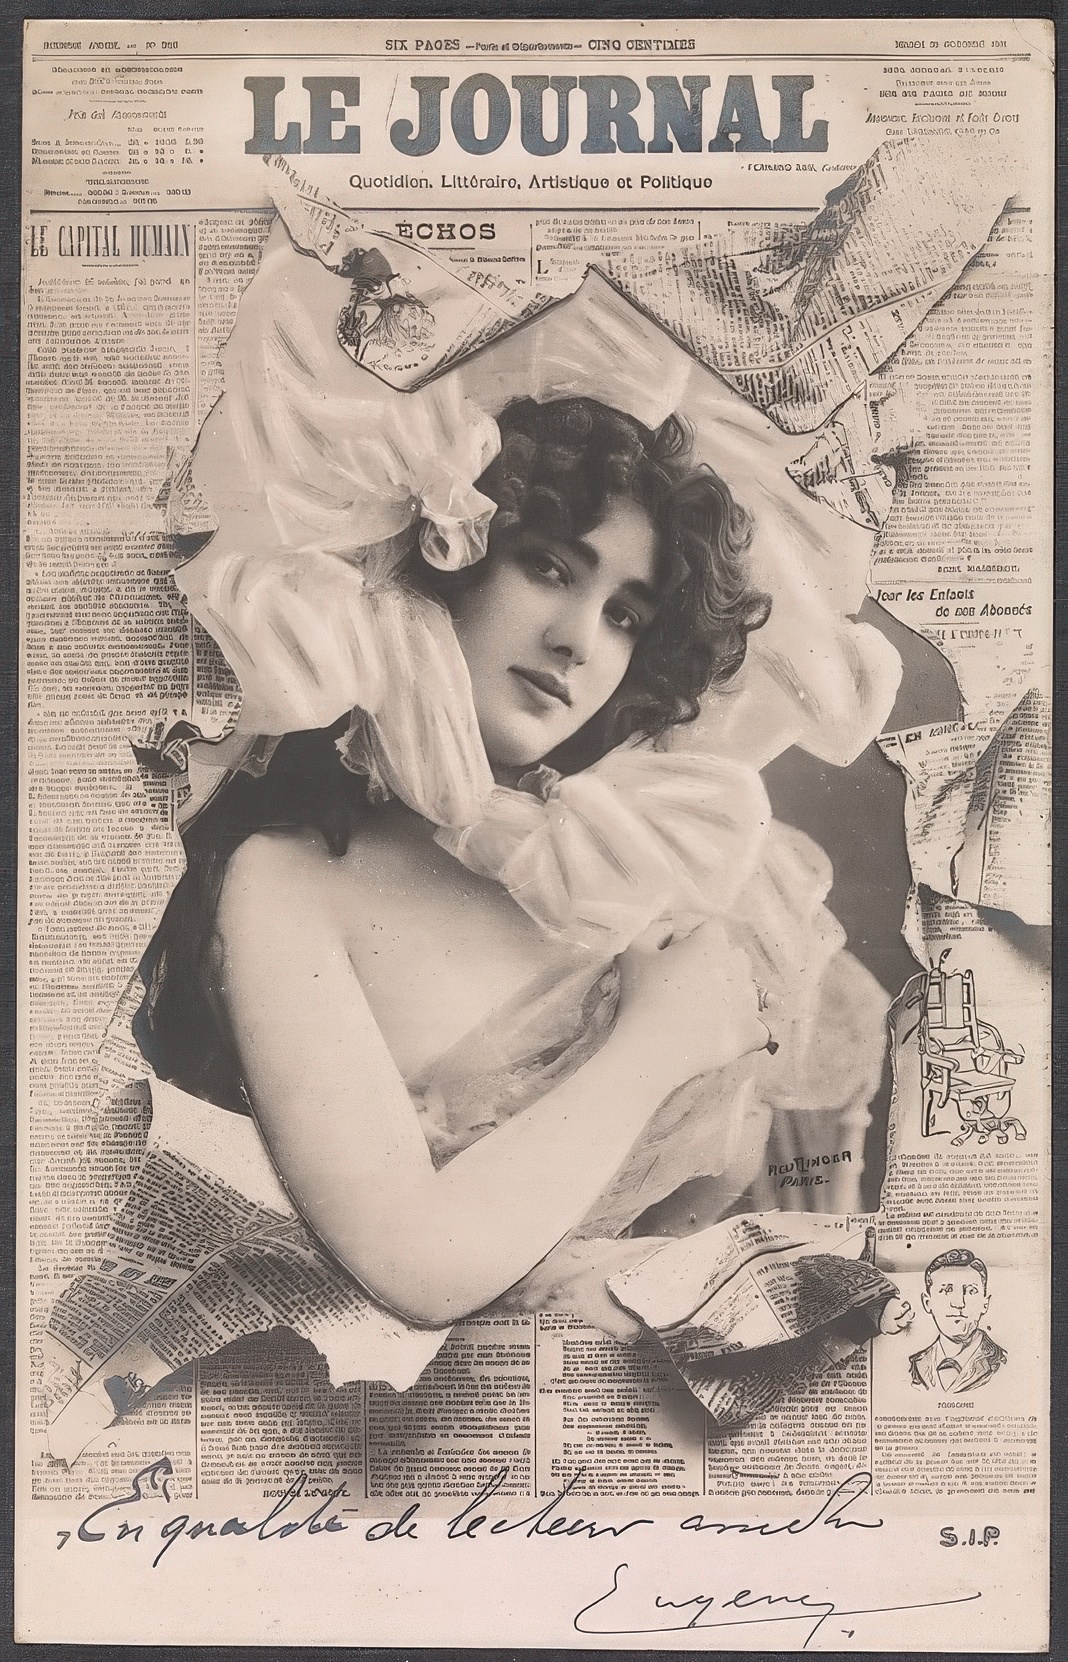
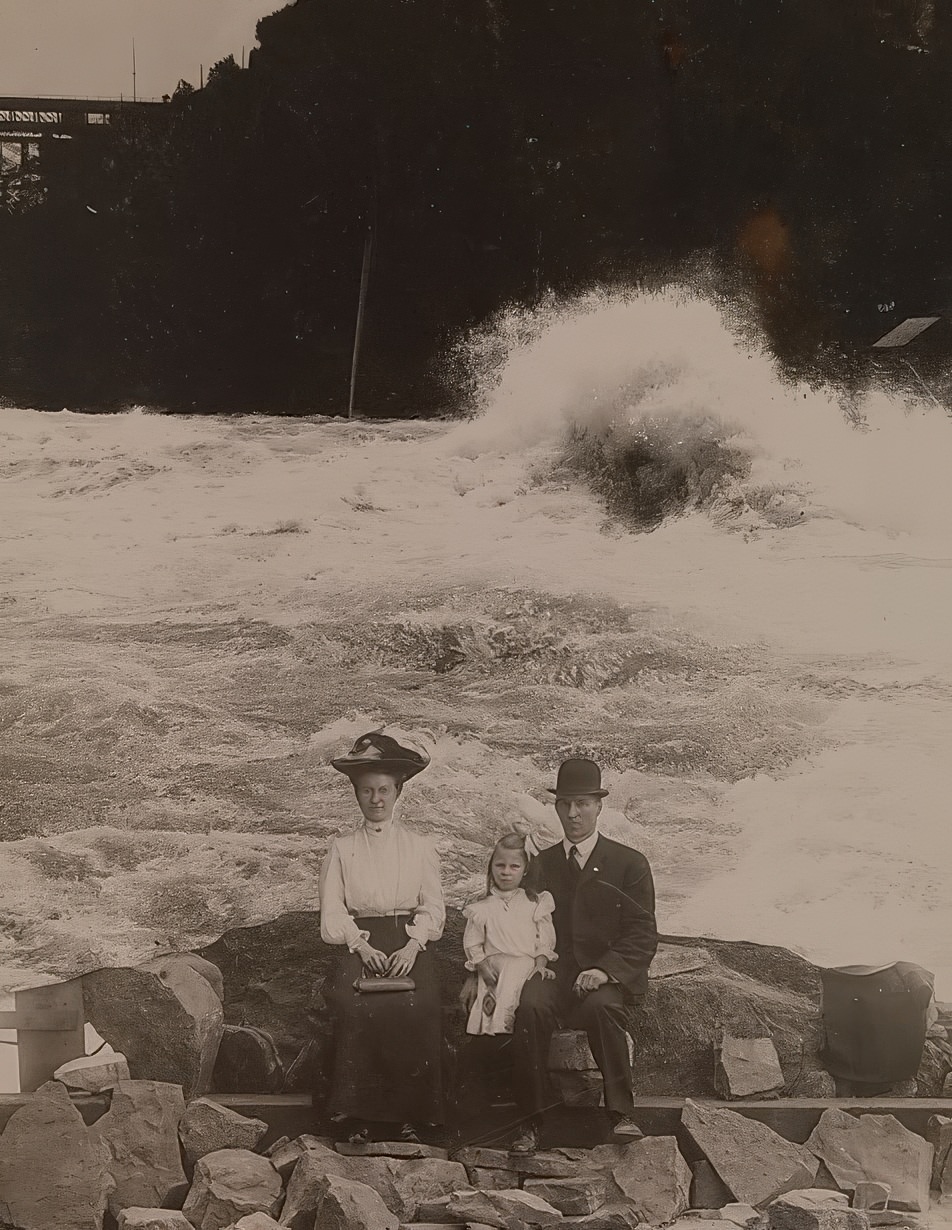
The darkroom, the special room where photographic film is developed and prints are made, was a central hub for manipulation techniques. One powerful method was combination printing. This involved skillfully combining elements from two or more different negatives onto a single sheet of photographic paper. For instance, if a photographer took a picture of a beautiful landscape but the sky was dull and overcast, they could use a separate negative containing dramatic clouds. During the printing process, they would first print the landscape negative, then carefully switch to the cloud negative, printing only the sky portion onto the same paper. This required precise masking – physically blocking light from hitting certain parts of the paper using pieces of card or by dodging and burning with hands or tools – to ensure the different elements blended believably. Combination printing allowed photographers to add people into scenes, create perfect skies, or even construct entirely fictional views.
Manipulation could also happen by working directly on the photographic negative before any prints were made. In the early days, negatives were often glass plates coated with a light-sensitive emulsion; later, film negatives were used. Skilled retouchers could use fine needles or sharp tools to gently scratch away tiny parts of the emulsion on the negative. This would remove unwanted dark spots or blemishes, which would appear light in the final print. Conversely, they could use graphite pencils or special opaque paints to draw directly onto the negative. Adding density this way would make areas lighter or add details like highlights or even painted-in clouds, which would then appear darker or more defined in the print. Much portrait retouching involved this careful negative work to enhance the subject’s appearance.
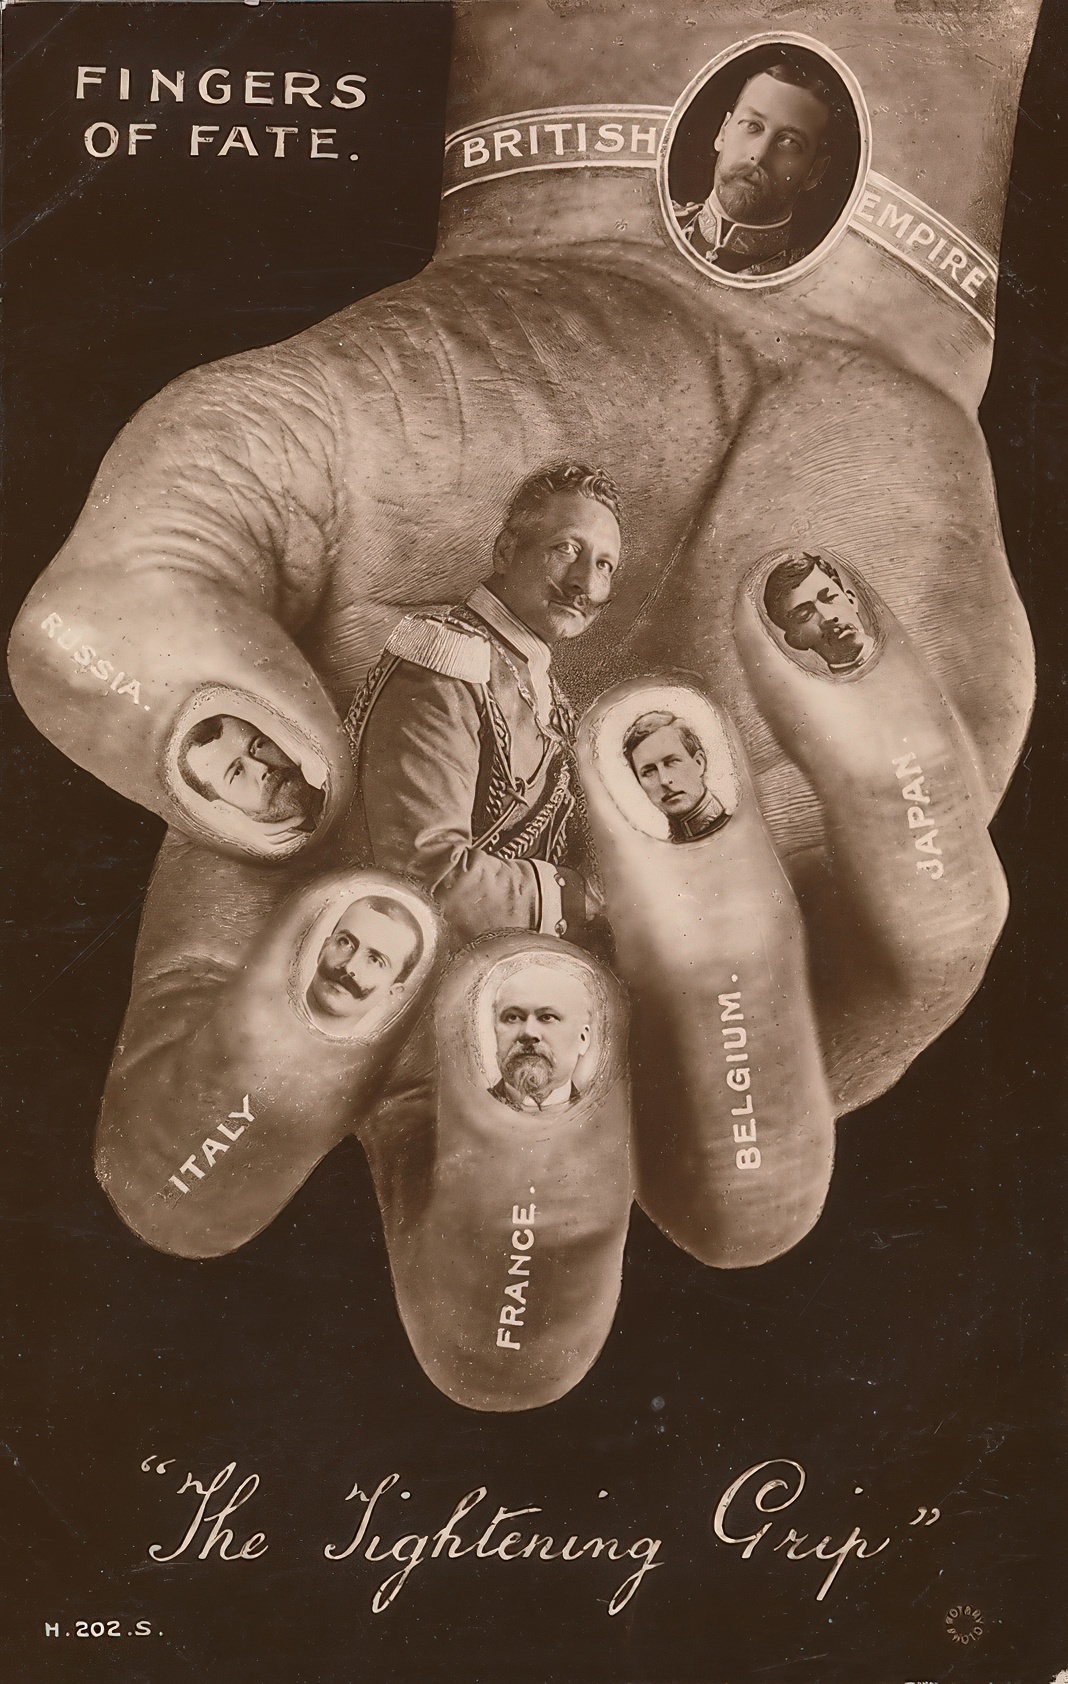
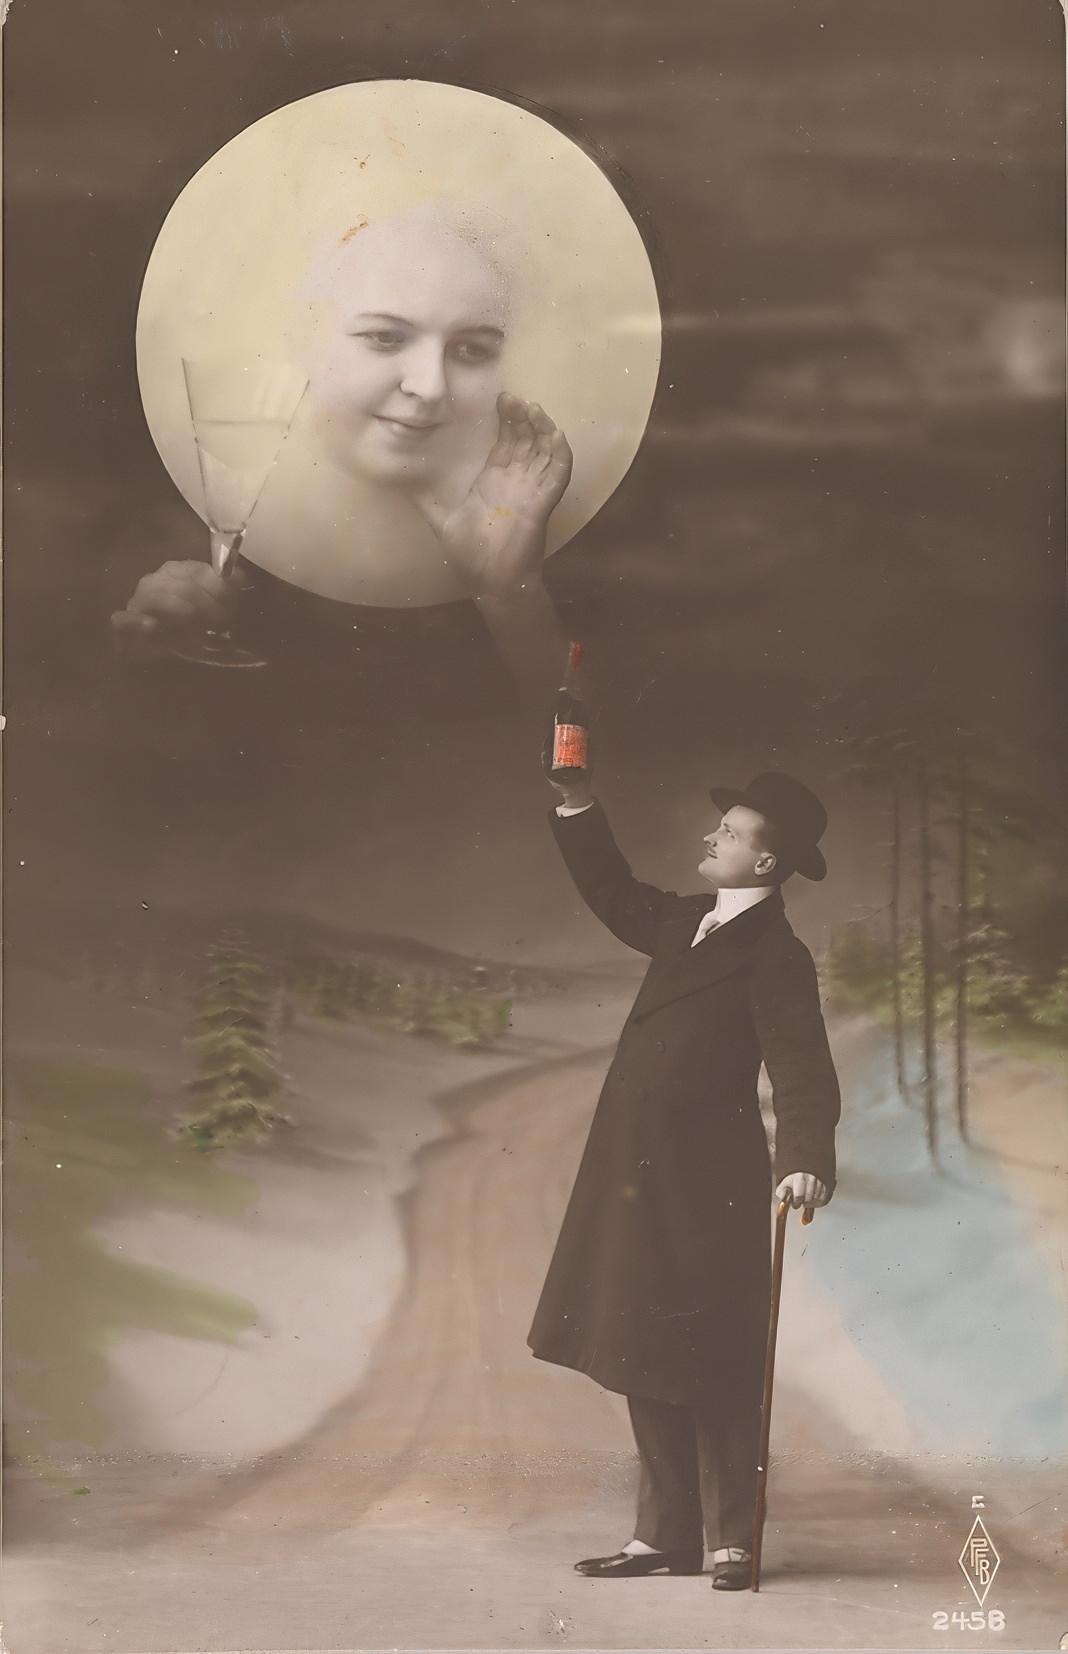
Even after a photograph was printed, the manipulation process might continue. Working directly on the surface of the finished print offered many possibilities. Hand-coloring black and white photographs was extremely popular for many decades, adding touches of realistic or artistic color using transparent oils, watercolors, crayons, or pastels. Artists could also use paints (like opaque watercolors known as gouache) or ink to completely paint out unwanted objects or people from the background, or to add missing details. Smoothing skin on a portrait print could be done with fine pencil work or specialized dyes. Another technique involved physically cutting and pasting. Photomontage artists would cut out elements from various photographs – a head from one, a body from another, a background from a third – and carefully glue them together into a new composition. This assembled collage could then be re-photographed to create a final, seamless-looking image that combined elements that were never together in reality.
These pre-digital methods of photo manipulation demanded considerable technical skill, artistry, and patience. Unlike modern software where mistakes can often be undone with a click, manual techniques required careful planning and precise execution. Whether done in the camera, skillfully performed in the darkroom, or meticulously applied to the negative or print, altering photographs before Photoshop was a craft that blended technical knowledge with creative vision. The results achieved by these early practitioners showcase their ingenuity and ability to make the camera capture more than just reality.